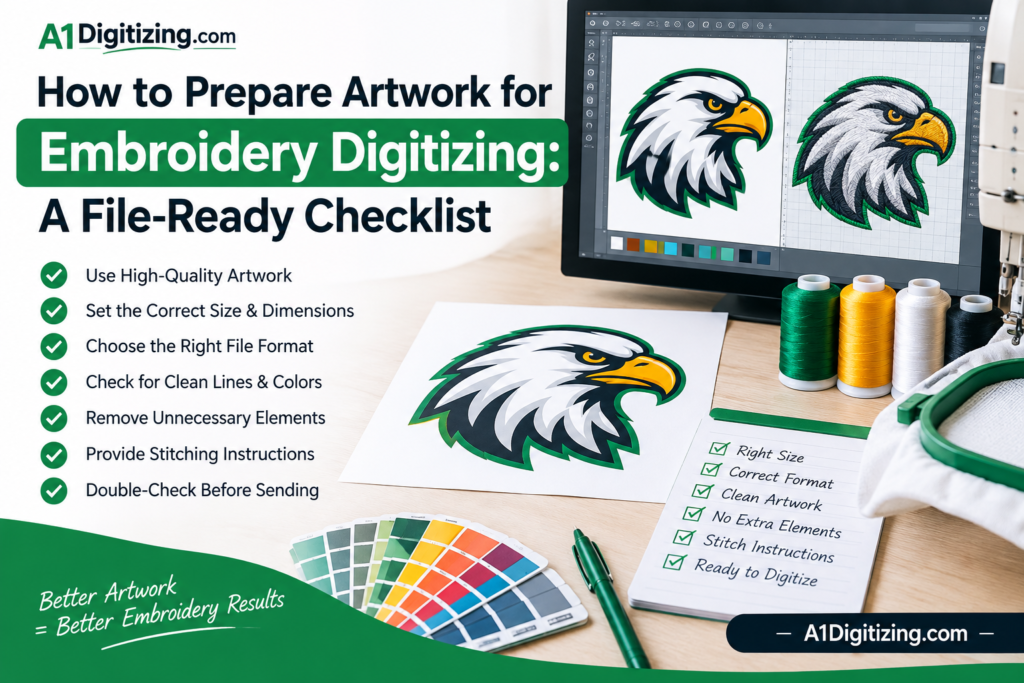
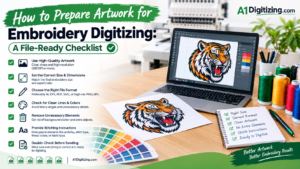
Knowing how to prepare artwork for embroidery digitizing before you submit an order can be the difference between a fast, smooth turnaround and a back-and-forth of revision requests. Digitizers can work with almost any artwork, but the clearer and more complete your file is upfront, the faster and more accurate the final embroidery design will be. This checklist walks through exactly what to check before sending your logo or design off for digitizing.
Why Artwork Preparation Matters
Knowing how to prepare artwork for embroidery digitizing matters because digitizing turns a flat image into a set of stitch instructions a machine can follow. If the original artwork is blurry, low-resolution, or missing key details, the digitizer has to guess — reconstructing lines, colors, or text that weren’t clear in the first place. That guesswork is where delays, extra revision rounds, and inaccurate results usually come from. A few minutes spent preparing your file properly can save hours of back-and-forth later.
The File-Ready Checklist to Prepare Artwork for Embroidery Digitizing
1. Use the Highest Resolution Available
Send the largest, clearest version of your artwork you have — ideally 300 DPI or higher for raster images (JPEG, PNG). Low-resolution files, especially ones pulled from a website or social media, often look fine on screen but lose critical detail once a digitizer zooms in to trace fine lines or small text.
2. Vector Files Are Best When Available
If you have your logo as a vector file (AI, EPS, SVG, or PDF built from vector artwork), send that instead of a raster image whenever possible. Vector artwork scales without losing quality and gives the digitizer exact, clean lines to work from — no guessing about where an edge starts or ends.
3. Flatten and Simplify Complex Backgrounds
If your artwork has a busy background, layered effects, or elements that won’t actually be stitched, isolate just the design you want digitized. A clean design on a plain or transparent background is far easier to prepare accurately than a full graphic pulled from a flyer or webpage.
4. Confirm Your Color Palette
List out the exact colors in your design, ideally using Pantone (PMC) references if your brand has them. Thread colors are matched to your artwork’s colors, so vague descriptions like “blue” or “dark green” can lead to a mismatch.
5. Check Text and Fine Detail Sizing
Small text and intricate detail don’t always translate well to embroidery, especially at smaller placements like a left-chest logo. If your design includes fine print, note the intended finished size so the digitizer can flag anything that may need to be simplified or enlarged for legibility.
6. Specify the Garment and Placement
Tell your digitizer exactly where the design will be stitched (cap, left chest, jacket back, sleeve) and on what fabric (cotton, twill, fleece, performance fabric). Different fabrics and placements affect stitch density and underlay choices, so this detail changes how the file needs to be built.
7. Include Reference Images If You Have Them
If you’ve had the design embroidered before, or you have a reference photo showing how you want the final result to look, include it. Reference images help clarify sizing, color expectations, and texture (like puff or satin finishes) far better than a written description alone.
8. Note Any Must-Match Requirements
If your design needs to match an existing embroidered item exactly — for a uniform reorder, a franchise brand standard, or a team consistency requirement — say so clearly and include a sample or photo if possible.
What File Formats to Send When You Prepare Artwork for Embroidery Digitizing
Most professional digitizers accept a wide range of source file formats, but some translate more cleanly than others:
- AI, EPS, PDF (vector) — the cleanest input, ideal for logos and text-based designs
- PNG (with transparent background) — good for raster artwork, especially when the background has already been removed
- JPEG — acceptable, but best at high resolution since JPEG compression can soften fine edges
- SVG — a good vector option for web-based logos and icons
If you’re unsure which format your artwork is in, sending the original file exactly as you have it — rather than a screenshot or a resized copy — is almost always the safer choice.
Common Artwork Mistakes That Slow Down Digitizing
- Sending a screenshot instead of the original file, which introduces compression artifacts and blurs fine edges
- Skipping color specifications, leaving the digitizer to guess at exact shades
- Not mentioning the fabric or placement, resulting in a file that needs rework once the real production details are known
- Sending only a printed or physical copy photographed on a phone, which usually has lighting, shadow, and perspective distortion that complicates accurate tracing
What Happens After You Submit Prepared Artwork
Once you submit properly prepared artwork, a good digitizing service will typically review the file, confirm any missing details (garment type, size, colors) if not already provided, and return a digitized proof for your approval before final files are delivered in your required format — DST, PES, EXP, or another machine-compatible type. For more on how digitizers use color information, resources on the Pantone Matching System explain how standardized color references reduce mismatches across different production runs.
Vector-based artwork in particular has become the industry standard for clean digitizing input — background on vector graphics explains why scalable, resolution-independent files translate so much more accurately into stitch paths than raster images do.
Frequently Asked Questions
What if I only have a low-resolution logo?
A digitizer can often still work with it, but expect possible clarification requests or a need to manually reconstruct unclear details, which can add time to your order.
Can I submit a hand-drawn sketch?
Yes, many digitizers can work from a clear, well-lit photo or scan of a hand-drawn design, though a cleaned-up digital version will always produce a more accurate result.
Do I need to convert my file to a vector before sending it?
Not necessarily. A skilled digitizer can trace a good-quality raster image into a usable design, but sending a vector file when you have one available typically speeds up the process and reduces ambiguity.
How many colors should I include in my design?
There’s no strict limit, but each color adds a thread change during production, so simpler color palettes are generally faster and slightly more cost-effective for bulk runs.
Final Thoughts
Taking a few extra minutes to prepare artwork for embroidery digitizing properly — checking resolution, confirming colors, and specifying fabric and placement — pays off with faster turnaround and fewer revision rounds. A well-prepared file lets your digitizer focus on stitch quality instead of guesswork, which means a better result on the first try.
Ready to submit your design? Once you’ve taken time to prepare artwork for embroidery digitizing, place your order directly, or get in touch with our team if you’re not sure your file is ready — we’re happy to review it before you commit. You can also check our price list or browse our logo digitizing services for more details.