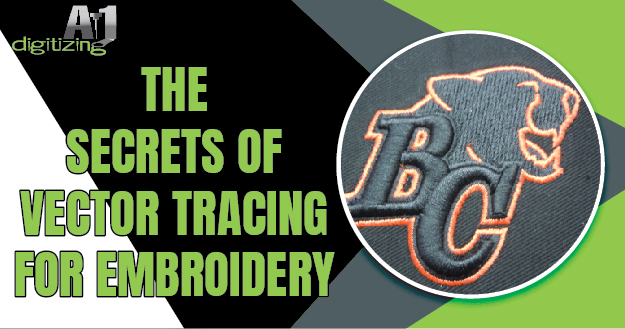
Vector tracing for Embroidery is the process of converting raster-based images or hand-drawn sketches into scalable vector graphics. This technique involves creating paths and shapes to replicate the original image. Allowing for it to be resized and manipulated without losing quality. Vector tracing is commonly used in graphic design, illustration. Animation to create clean, crisp, and easily editable artwork.
It is a valuable tool for turning complex, detailed images into simplified ones. Versatile graphics that can be used across a variety of media. This process requires precision and attention to detail to ensure that the final vector image accurately represents the original source while maintaining its scalability and flexibility.
Benefits of Vector Tracing for Embroidery
Vector tracing plays a crucial role in enhancing embroidery projects by providing numerous benefits. Firstly, it enables the creation of high-quality designs that are scalable without losing their detail and resolution. Ensuring that the final embroidery product looks professional and precise. This ability to scale designs up or down as needed is particularly useful for different embroidery sizes and applications.
Additionally, vector tracing improves production efficiency by streamlining the digitizing process. It allows for quick and accurate creation of embroidery patterns, reducing the time and effort required to produce intricate designs. This ultimately results in cost savings and faster turnaround times for embroidery projects.
Moreover, vector tracing ensures the accurate reproduction of intricate details in embroidery designs. By converting raster images into vector files, it preserves the clarity and precision of the original artwork, making it easier to translate intricate details into embroidery stitches.
Converting Images into Vectors
Converting images into vectors involves using a process called vectorization to convert raster (pixel-based) images into vector graphics. Which are based on mathematical equations instead of individual pixels. This process allows for images to be scaled without losing quality and provides the ability to edit and manipulate the image with ease. There are multiple techniques and software that can be used to accomplish this conversion. Each with its own advantages and limitations.
This guide will explore the various methods and tools available for converting images into vectors. As well as the benefits and practical applications of using vector graphics.
The Vectorization Process
Vectorization is the process of converting raster images into vector graphics using specialized software tools. The steps involve importing the image into the vectorization tool. Creating an outline or tracing the important elements of the image, and converting it into scalable vector format. Some popular vectorization tools include Adobe Illustrator’s Image Trace feature, CorelDRAW’s PowerTRACE, and Inkscape’s Trace Bitmap function.
Various types of images can be vectorized, such as logos, illustrations, and hand-drawn sketches. The supported file formats include JPEG, PNG, GIF, and BMP. However, limitations may exist with complex images or those with intricate details. The maximum file size and dimensions allowed for vectorization depend on the specific tool being used and the system’s processing capabilities. But can typically handle images up to several megabytes in size and thousands of pixels in width and height.
The vectorization process involves converting raster images into scalable, resolution-independent vector graphics using specialized tools. Supported image types include logos, illustrations, and sketches, with limitations on complex or detailed images. The maximum file size and dimensions allowed depend on the specific vectorization tool being used.
Software for Vectorizing Images
Top software options for vectorizing images and creating custom product designs include Adobe Illustrator, CorelDRAW, Inkscape, and Affinity Designer. These programs are renowned for their ability to resize designs without compromising quality. Making them suitable for various print-on-demand products such as t-shirts, mugs, posters, and more.
Using vector editing software is crucial for custom product designs as it allows for scalability without loss of quality. This means that designs can be resized for different products without becoming pixelated or blurry. Additionally, vector editors enable designers to manipulate individual elements of the design, change colors, and add or remove details easily. Providing great flexibility when creating custom product designs.
The benefits of creating designs in vector editors are numerous. Not only do they allow for easy resizing and manipulation, but they also provide high-quality output for printing. Smooth lines and shapes, and the ability to export designs in various file formats. This makes vector editing software essential for designers looking to create professional and versatile custom embroidery designs.
Services for Converting Images to Vectors
Top vector tracing service providers like Adobe Illustrator, Vector Magic, and CorelDRAW offer efficient and reliable solutions for converting images to vectors. These providers offer advanced tools and features that facilitate quick and accurate conversion. Making the process seamless and hassle-free. By using these services, users can achieve high-quality vector images that are scalable and editable. Allowing for easy customization and manipulation.
Key features and considerations when selecting a vector tracing service include the accuracy of the conversion. The speed of the process, the level of customization and editing options available. Compatibility with different file formats and software, and the overall cost and value of the service. Users should also consider the level of customer support and training resources provided. As well as the availability of trial versions or free demos to test out the service before making a commitment.
To achieve fast and accurate results when using a vector tracing service. It’s important to choose the right tool for the type of image being converted. Pay attention to the quality and resolution of the original image. Make use of any available customization options to fine-tune the final result for the intended use. By following these tips and utilizing the capabilities of the top vector tracing service providers. Users can easily and efficiently convert images to high-quality vectors.
Working with Vector Editing Software
Vector editing software is a powerful tool for creating and editing digital illustrations, designs, and graphics. Whether you are a professional designer, a student learning the ropes, or just dipping your toes into the world of graphic design. Understanding and mastering vector editing software is essential.
In the following headings, we’ll delve into the key features and functions of vector editing software. Explore tips and techniques for working with vectors, and learn how to take advantage of this versatile tool to bring your creative visions to life.
Whether you’re familiar with vector editing software or just starting out. There’s always something new to discover and learn to enhance your skills and workflow.
Tools and Techniques in Vector Editing Software
Vector editing software provides a range of tools and techniques essential for creating custom product designs. These include the ability to create precise lines, curves, and polygons for intricate designs. The software also enables resizing designs without compromising quality. Ensuring that designs can be adjusted to fit various product sizes without losing sharpness or clarity. Additionally, vector editing software allows for the conversion of raster graphics to vector images. Ensuring that designs can be scaled up without any loss of detail. Making them perfect for print-on-demand products.
These tools and techniques are crucial for print-on-demand products as they allow for the creation of high-quality, scalable designs. Whether creating t-shirt prints, mugs, or posters, the ability to adjust and resize designs without compromising their quality ensures that the final product looks great when printed on different items.
The precision of vector editing software also ensures that intricate designs and patterns retain their sharpness. Making them visually appealing on a variety of products. Ultimately, these tools and techniques enable designers to create versatility. High-quality artwork that is well-suited for print-on-demand products.
10 Secret tips of Vector Tracing for embroidery
Vector tracing for embroidery involves converting raster images into vector graphics suitable for embroidery machines. Here are 10 secret tips to enhance your vector tracing for embroidery:
1. Choose High-Quality Source Images
Begin with a high-resolution image to ensure that your vector tracing captures fine details and produces a clean, crisp design.
2. Simplify Complex Designs
Embroidery works best with simple, clear designs. Simplify complex images, remove unnecessary details. Focus on the essential elements to improve the final embroidered result.
3. Use a Specialized Vector Software
Consider using vector software like Adobe Illustrator or CorelDRAW. Which are designed for creating clean and precise vector graphics. These programs offer tools specifically for vector tracing.
4. Adjust Threshold Settings
When using automated tracing tools, adjust threshold settings carefully. Experiment with different levels to find the right balance between capturing details and avoiding unnecessary complexity.
5. Manually Edit Anchor Points
After automated tracing, go through the design and manually edit anchor points. This allows you to refine curves and eliminate unnecessary points, ensuring smoother lines for embroidery.
6. Convert Strokes to Outlines
In vector software, convert strokes to outlines. Embroidery machines work with filled shapes. Converting strokes to outlines ensures that the design is interpreted correctly during the embroidery process.
7. Choose Appropriate Stitch Types
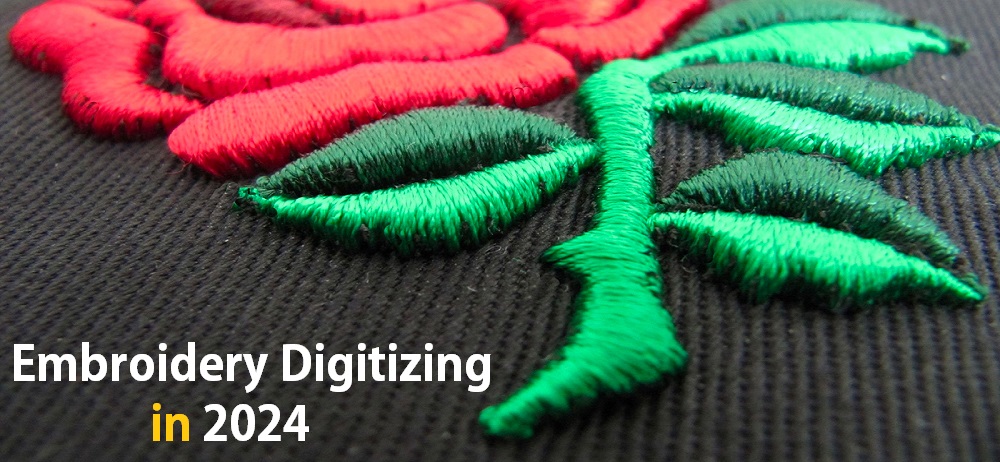
Understand the types of stitches your embroidery machine supports. Common embroidery stitch types include satin stitches, fill stitches, and running stitches. Tailor your design to incorporate these stitch types for optimal results.
8. Test with Small Samples
Before embroidering a full design, test it on a small sample. This helps identify potential issues, such as thread breaks or density problems. Allowing you to make adjustments before committing to the full design.
9. Consider Color Variations
If your design involves multiple colors, consider how these will translate into thread colors. Simplify color variations and ensure that the design is easily distinguishable when translated into thread.
10. Understand Machine Limitations
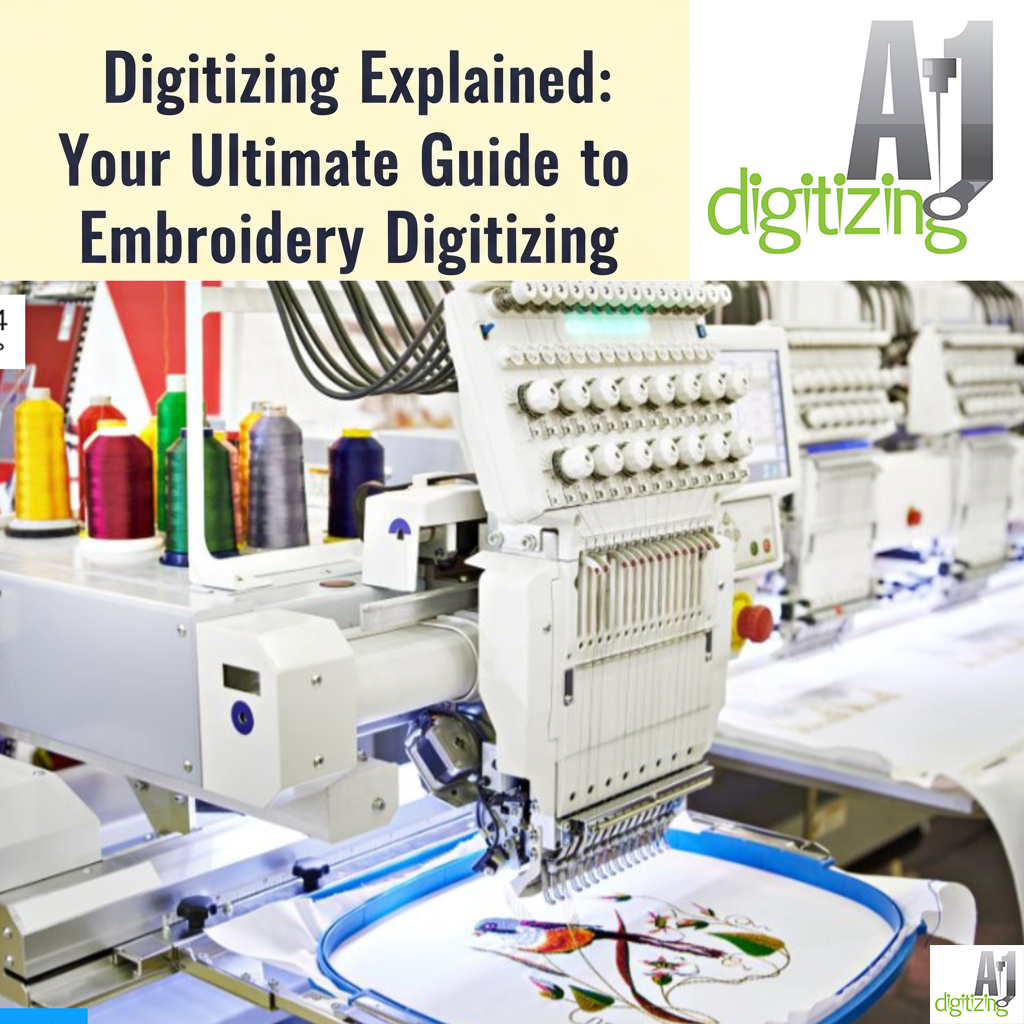
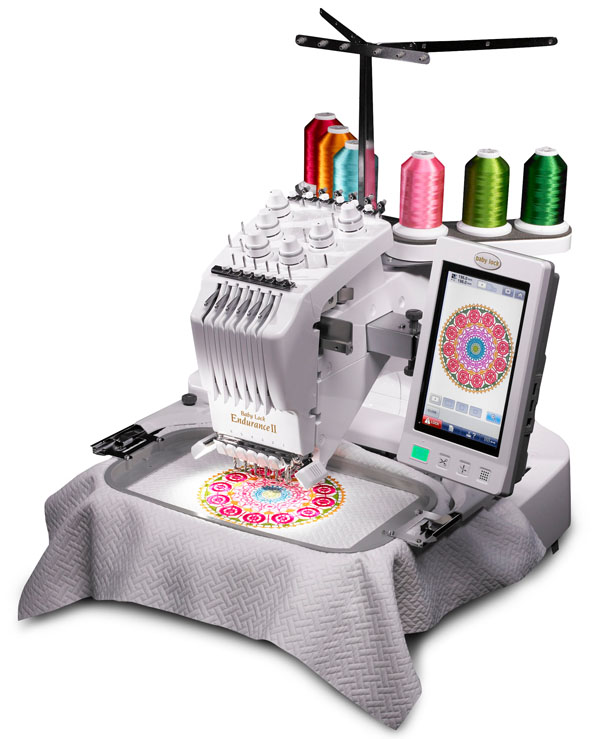
Be aware of the limitations of your embroidery machine. Different machines may have varying capabilities, including maximum stitch count, thread changes, and color options. Design within these constraints to achieve the best results.
Remember, practice and experimentation are key to mastering vector tracing for embroidery. The more you work with different designs and materials. The better you’ll become at creating high-quality embroidered graphics.
Conclusion about Vector Tracing for Embroidery
Vector tracing is an invaluable technique for enhancing embroidery projects. Offering benefits such as scalability, production efficiency, and accurate reproduction of intricate details. For optimal results, consider leveraging our embroidery services. Utilizing top vector tracing tools like Adobe Illustrator, Vector Magic, or CorelDRAW. These services streamline the conversion process, providing high-quality, editable vector images suitable for embroidery machines. Remember to choose high-quality source images, simplify designs, and test small samples for optimal outcomes.
Mastering vector tracing for embroidery requires practice and experimentation. Ensuring you create professional and versatile embroidered graphics. Explore the possibilities with our embroidery services today.
FAQs about Vector tracing for Embroidery
1. What is vector tracing, and why is it essential in graphic design?
Vector tracing involves converting raster images into scalable vector graphics. This technique ensures images can be resized without losing quality, benefiting graphic design for clean, crisp, and easily editable artwork.
2. How does vector tracing enhance embroidery projects?
Vector tracing allows for the creation of scalable, high-quality embroidery designs. This ensures professional and precise results, particularly beneficial for different embroidery sizes and applications. It also streamlines digitizing processes for efficiency and cost savings.
3. What is the vectorization process, and why is it crucial for images?
Vectorization converts raster images into vector graphics using mathematical equations. This process allows for scalable, editable images without quality loss, crucial for resizing, editing, and manipulating images with ease.
4. Which software options are recommended for vectorizing images?
Adobe Illustrator, CorelDraw, Inkscape, and Affinity Designer are top software options. They allow for resizing without compromising quality, essential for creating professional and versatile custom embroidery designs.
5. What are some secret tips for vector tracing in embroidery projects?
Tips include starting with high-quality source images, simplifying designs, using specialized vector software, adjusting threshold settings, manually editing anchor points, converting strokes to outlines, choosing appropriate stitch types, testing with small samples, considering color variations, and understanding machine limitations. These tips contribute to mastering vector tracing for embroidery.


