Digitizing embroidery art plays a significant role in modernizing and advancing traditional craft. It offers several key benefits that make it increasingly important in today’s digital age. Today we will discover the essential tools and software needed to bring your art to life in embroidery. Unlock the world of digitization and unleash your creativity.
Preservation and Reproduction: Digitizing embroidery art allows for precision preservation and reproduction of designs. Traditional embroidery pieces are susceptible to wear and tear over time, but by digitizing them, artists can create digital replicas that can be stored indefinitely and reproduced as needed.
Scalability and Adaptability: Digitized designs can be easily scaled up or down to suit different sizes and applications. Whether for small badges or large banners, digital embroidery allows artists to maintain the integrity and details of the design without compromising its quality.
Time and Cost Efficiency: Digital embroidery significantly reduces the time and effort required to create intricate designs. Unlike traditional embroidery, which involves manual stitching and tracing, digitizing enables artists to automate the process, saving valuable time and reducing labor costs.
Customization and Personalization: Digitizing embroidery art provides artists endless possibilities for customization and personalization. With digital tools and Software for embroidery, they can easily modify, combine, or adapt designs to meet individual preferences and client requirements, allowing for greater creativity and flexibility.
Introduction
The purpose of this blog post is to guide artists and embroidery enthusiasts through the process of digitizing their embroidery art. It aims to provide insights into the tools, Software, and techniques involved in digital embroidery, empowering artists to explore the advantages and possibilities of digitization.
Through this blog post, readers will understand the transition from traditional to digital embroidery, the benefits of digital embroidery over traditional methods, and the importance of embracing digitization in their artistic practice.
Essential Tools for Digitizing Embroidery Art
1. Computer or Laptop:
A computer or laptop is a fundamental tool for digitizing embroidery art. It is the primary device for digitizing Software and handling the design process. Here are some key considerations:
Hardware Specifications: Opt for a computer or laptop with sufficient processing power, memory, and storage capacity to handle the demands of digitizing Software efficiently.
Operating System: Ensure compatibility with the digitizing Software you plan to use. Standard operating systems include Windows and Mac.
Screen Size and Resolution: A larger screen size and high-resolution display provide better visibility and precision when working on intricate details.
Connectivity: Ensure the computer has USB ports or other connectivity options to link with your embroidery machine and transfer design files.
2. Embroidery Machine:
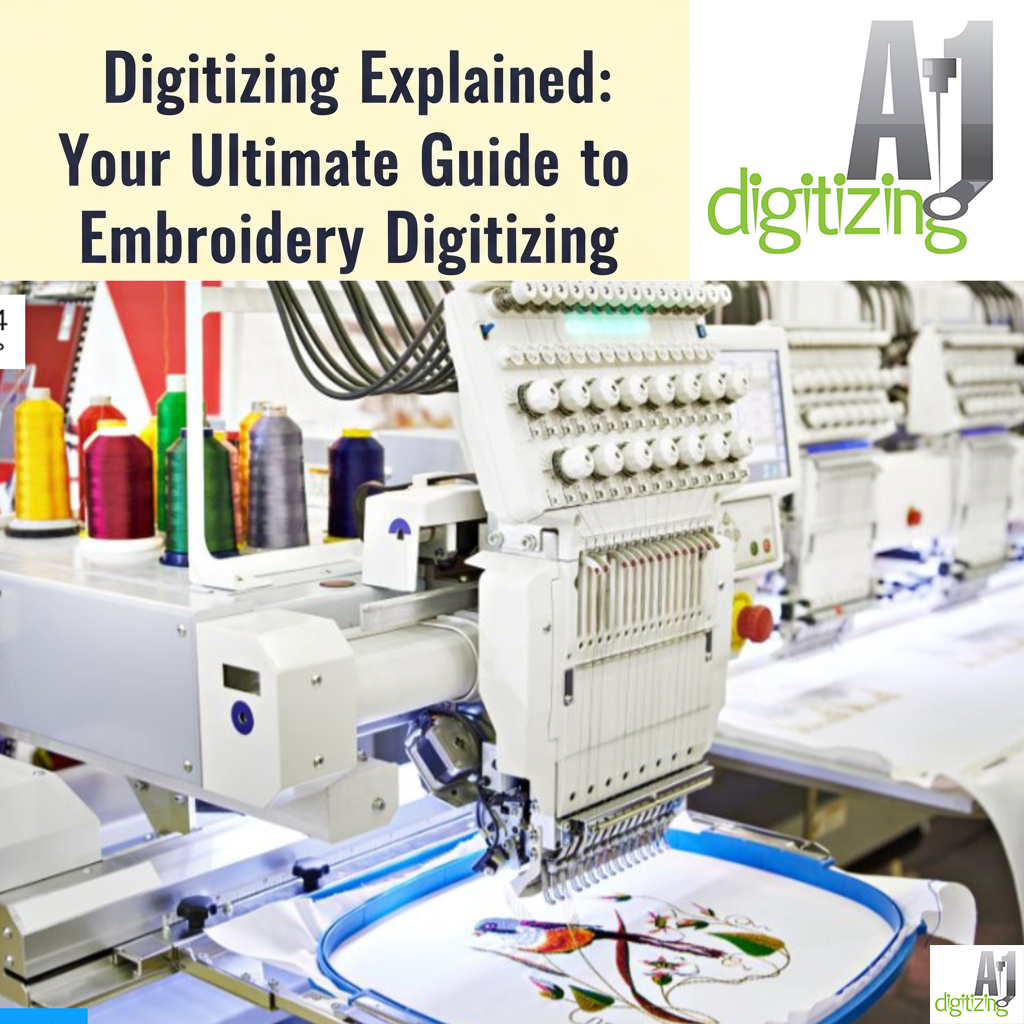
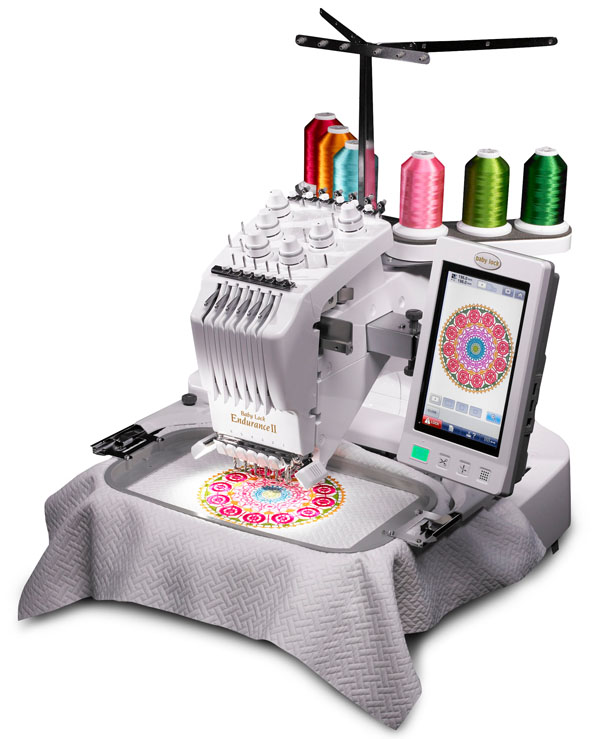
An embroidery machine is an indispensable tool for bringing digitized designs to life. It physically stitches the designs onto fabric. Consider the following aspects when choosing an embroidery machine:
Brand and Model: Research reputable brands and models are known for their quality, reliability, and compatibility with digitizing Software.
Hoop Size: Determine the desired maximum embroidery area by considering the size of the designs you intend to create. Choose a machine with an appropriate hoop size.
Stitching Speed and Precision: Look for machines that balance speed and accuracy, ensuring clean and consistent stitches.
Compatibility: Ensure the machine is compatible with the file formats generated by your chosen digitizing Software, allowing seamless integration between the two.
3. Digitizing Software:
Digitizing Software is the core tool for converting artwork or designs into digital embroidery files. When selecting digitizing Software, consider the following factors:
Features and Functionality: Look for Software that provides the necessary tools for creating, editing, and optimizing embroidery designs. Consider features like stitch editing, lettering options, and advanced fill patterns.
User Interface: Choose Software with an intuitive and user-friendly interface, making it easier to learn and navigate, especially for beginners.
Compatibility: Ensure the Software supports the file formats used by your embroidery machine, allowing seamless transfer of designs.
Customer Support and Updates: Consider software providers that offer reliable customer support, documentation, and regular updates to address issues and enhance functionality.
Budget: Evaluate the cost of the Software and compare it with your budget. Consider whether the features and benefits justify the price.
Remember, the computer or laptop, embroidery machine, and digitizing Software are essential tools for digitizing embroidery art. Investing in high-quality tools that meet your specific needs and enable you to achieve the best results in your digitization journey is crucial.
Popular Digitizing Software Options
1. Wilcom EmbroideryStudio
Features and Benefits
1. Advanced digitizing capabilities with various tools and options for creating complex designs.
2. Excellent stitch optimization for achieving high-quality embroidery on different fabrics.
3. Supports a wide range of embroidery machine formats, ensuring compatibility with various machines.
4. Offers a comprehensive set of editing tools for modifying and refining designs.
5. Provides extensive training and support resources for users to enhance their digitizing skills.
2. Hatch Embroidery Software
Features and Benefits:
1. The User-friendly interface was suitable for both beginners and experienced digitizers.
2. Extensive design library with pre-digitized designs and embroidery fonts for inspiration.
3. Multi-format support for easy import and export of designs to different embroidery machines.
4. Real-time design preview for visualizing the final result on different fabrics.
5. Offers comprehensive training materials, tutorials, and customer support for users.
3. Pulse Embroidery Software
Features and Benefits:
1. He advanced digitizing tools and features for creating intricate and complex designs.
2. Artistic effects and techniques are available for adding depth and dimension to embroidery designs.
3. Custom stitch creation options for complete control over the look and style of designs.
4. Seamless integration with popular graphic design software for importing vector artwork.
5. Multi-platform compatibility, supporting both Windows and Mac operating systems.
It’s important to note that these software options have unique features and benefits, and the choice between them depends on individual preferences, skill levels, and specific requirements. Users may find one Software more suitable for their needs based on interface, design library, advanced tools, or platform compatibility. Exploring demo versions, reviews, and user feedback is recommended to determine the best fit for their embroidery digitizing needs.
Factors to Consider When Selecting Digitizing Software:
Budget:
Consider your budget when selecting Digitizing Software. Different software options are available at various prices, from entry-level to professional-grade. Determine how much you will invest and explore software options that offer the best value for your budget.
Skill Level:
Assess your skill level in embroidery digitizing. If you are a beginner, look for Software with a user-friendly interface and tutorials or learning resources to help you get started. Advanced users may require Software with more robust features and tools to accommodate their expertise and specific design requirements.
Compatibility with Embroidery Machines:
Ensure that the digitizing Software is compatible with your embroidery machine. Different embroidery machines support specific file formats. Check if the Software you are considering generates files compatible with your machine or if it offers file format conversions to ensure seamless integration and smooth workflow.
User-Friendly Interface:
Look for digitizing Software that offers a user-friendly interface. An intuitive and well-designed interface can enhance your productivity and ease of use. Features like drag-and-drop functionality, customizable toolbars, and straightforward navigation can make digitizing more efficient and enjoyable.
Customer Support and Updates:
Consider the level of customer support provided by the software provider. Reliable customer support can be crucial in resolving technical issues or addressing any questions or concerns during your digitizing journey. Additionally, check if the Software receives regular updates, as updates can introduce new features, improve performance, and address software bugs or compatibility issues.
Remember to prioritize the factors that align with your specific needs and preferences. Evaluating these factors will help you select a digitizing software that fits your budget, skill level, embroidery machine compatibility, user experience, and the level of support you require.
Step-by-Step Guide to Digitizing Embroidery Art:
1. Importing Designs into the Software:
Begin by importing the design or artwork you want to digitize into the chosen Digitizing Software. This can typically be done using file formats such as JPEG, PNG, or SVG. The Software will allow you to view and manipulate the design on the digital canvas.
2. Outlining and Defining Stitches:
Once the design is imported, use the Software’s tools to outline and define the stitches. This involves tracing the main elements of the design, such as shapes, lines, or text, and assigning stitch types and directions to each element. This step establishes the foundation of the embroidery design.
3. Adding Colors and Thread Types:
After defining the basic outline, add colors and thread types to the design. Choose thread colors from the Software’s color palette and assign them to specific design elements. This step brings vibrancy and realism to the embroidery design, allowing you to visualize the final result.
4. Optimizing Stitch Density:
Stitch density refers to the spacing and number of stitches within a given area. Use the Software’s tools to optimize the stitch density throughout the design. Adjusting the stitch density ensures that the embroidery will be balanced, avoiding overcrowding or gaps in the stitches and achieving desired stitch coverage.
5. Editing and Refining the Design:
At this stage, fine-tune the design by editing and refining its details. Use the Software’s editing tools to make adjustments, such as resizing elements, smoothing curves, or adding additional details. This step allows you to achieve the desired level of precision and visual appeal in the design.
6. Saving and Exporting the Digitized Design:
Once satisfied with the digitized embroidery design, save the project file in the Software’s native format to preserve the work for future edits. Additionally, export the design into a file format compatible with your embroidery machines, such as DST, PES, or EXP. This exported file will transfer the design to the embroidery machine for stitching.
By following these steps, you can effectively digitize your embroidery art, transforming it into a digital format that can be stitched onto fabric using an embroidery machine. Remember to refer to the specific tools and features of the chosen digitizing Software to make the most out of the digitization process.
Tips and Tricks for Successful Digitization:
A. Practice and Experimentation:
Digitizing embroidery art is a skill that improves with practice. Dedicate time to experimenting with different tools, features, and techniques within the digitizing Software. The more you practice, the better you’ll understand the Software’s capabilities and achieve the desired results.
B. Proper Use of Digitizing Tools and Features:
Take the time to familiarize yourself with the digitizing tools and features available in the Software. Each tool serves a specific purpose: outlining, stitching types, resizing, or editing. Understanding how to utilize these tools effectively will enable you to create more precise and visually appealing embroidery designs.
C. Understanding Stitch Types and Settings:
Gain knowledge about different stitch types and settings within the digitizing Software. Common stitch types include satin, fill, and running stitches, each offering different effects and textures. Understanding how to use and modify stitch settings like length, density, and direction will help you achieve the desired appearance and quality.
D. Testing and Adjusting the Design on Fabric:
Testing your digitized design on the fabric is crucial before proceeding with the final embroidery. Stitch the design on a sample fabric or a similar material to evaluate how the design translates into stitches. This allows you to assess the stitch density, thread tension, and overall appearance. Make any necessary adjustments in the digitizing Software based on the test results.
E. Backing and Stabilizing Techniques:
Proper backing and stabilizing techniques are vital in achieving excellent embroidery results. Use appropriate backing materials, such as tear-away or cut-away stabilizers, to support and prevent distortion during stitching. When selecting the backing and stabilizing methods, consider the fabric type, design complexity, and desired finish.
Remember, digitizing embroidery art is a creative process that requires patience, skill, and attention to detail. By practicing, understanding the Software’s tools and settings, testing on the fabric, and employing proper backing techniques, you can enhance the quality and professionalism of your digitized embroidery designs. Continuously explore and learn; don’t be afraid to experiment and adapt your techniques to achieve the best results.
The Takeaway
Are you passionate about embroidery art and eager to digitize your designs with precision and creativity? Look no further than A1 Digitizing. We specialize in bringing your embroidery art to life, ensuring every detail is captured flawlessly. Our team is dedicated to providing top-notch digitizing services that will exceed your expectations.
To get started, contact us for a personalized consultation and quote. We take the time to understand your needs and requirements, ensuring that our digitizing services align perfectly with your vision. You can also visit our website to explore more about our cheap digitizing services and browse through our portfolio, witnessing the exceptional quality of our work.
Frequently Asked Questions (FAQs)
Q1: What are the benefits of digitizing embroidery art?
Digitizing embroidery art allows for preservation, reproduction, scalability, adaptability, time and cost efficiency, customization, and personalization.
Q2: What factors should be considered when selecting digitizing Software?
Factors to consider include budget, skill level, compatibility with embroidery machines, user-friendly interface, and customer support and updates.
Q3: What are the essential tools for digitizing embroidery art?
The essential tools include a computer or laptop, an embroidery machine, and digitizing Software.
Q4: Can you explain the step-by-step process of digitizing embroidery art?
The step-by-step process includes importing designs into the Software, outlining and defining stitches, adding colors and thread types, optimizing stitch density, editing and refining the design, and saving and exporting the digitized design.
Q5: What are some tips and tricks for successful digitization?
Tips and tricks include practicing and experimentation, proper use of digitizing tools and features, understanding stitch types and settings, testing and adjusting the design on fabric, and employing proper backing and stabilizing techniques.


