Embroidery enthusiasts, rejoice! If you’ve ever struggled with puckering fabric or uneven stitches, fret no more. In this article, we will unveil the secrets to mastering the art of puckering-free embroidery, with a treasure trove of tips and tricks to achieve flawless stitches every time.
Whether you’re a seasoned embroiderer or a newbie looking to elevate your skills, our expert advice will empower you to create stunning creations without the frustration of puckering. Get ready to unleash your creativity, as we unlock the secrets to flawless embroidery stitches.
Understanding the Causes of Puckering
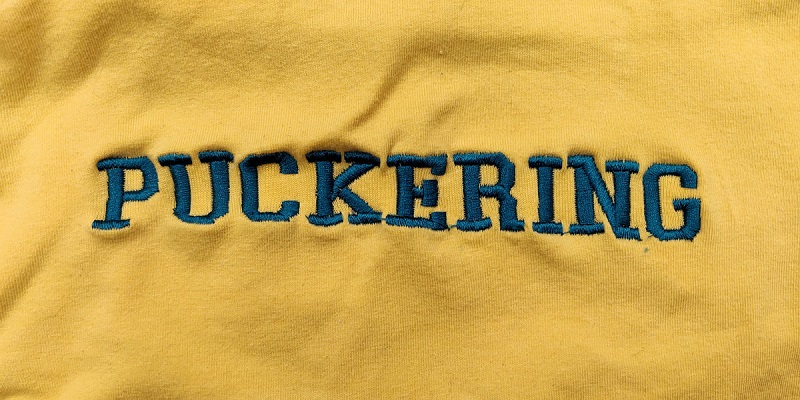
Embroidery is an age-old art form that allows us to bring beauty and personal flair to our fabrics. But often, our excitement is dampened by unsightly puckers that mar our finished projects. This occurs when the fabric is distorted and gathers around the stitches, resulting in an uneven and unprofessional appearance.
One of the main causes of puckering is improper tension. When the thread tension is too tight, it pulls the fabric, causing it to pucker. On the other hand, if the tension is too loose, the stitches may not hold properly, leading to puckering as well. Additionally, fabric distortion, incorrect hooping techniques, and using the wrong stabilizer can also contribute to these issues.
Tips for Preventing Puckering in Embroidery
Preventing puckering requires a combination of proper technique and attention to detail. Here are some essential tips to help you achieve flawless stitches in your embroidery projects:
1. Choosing the Right Fabric for Embroidery Projects
The type of fabric you choose plays a crucial role in preventing puckering. Opt for medium-weight fabrics such as cotton or linen, as they tend to be more stable and less prone to distortion. Avoid lightweight or stretchy fabrics, as they are more likely to pucker. Remember to prewash your fabric before starting your embroidery project to remove any shrinkage that may occur.
2. Proper Hooping Techniques for Puckering-free Embroidery
Hooping your fabric correctly is vital to ensure smooth stitches and prevent this issue. Start by selecting a hoop that matches the size of your design. Place the fabric tautly in the hoop, making sure it is evenly stretched without any wrinkles or excess tension. Avoid pulling the fabric too tightly, as this can lead to distortion and puckering. Use additional stabilizers if needed to support the fabric and minimize any movement during embroidery.
3. Using Stabilizers to Prevent Puckering
Stabilizers are essential tools in achieving puckering-free embroidery. They provide added support to the fabric, keeping it stable and preventing distortion. There are various types of stabilizers available, such as tear-away, cut-away, and water-soluble stabilizers. Choose the appropriate stabilizer based on the fabric and design requirements. Remember to remove excess stabilizer after embroidery to avoid any residue that may cause puckering.
Adjusting Tension for Flawless Stitches
Proper tension is crucial for achieving flawless stitches in embroidery. Finding the right tension setting can be a bit of trial and error, but it is worth the effort. Start by adjusting the upper thread tension gradually until the stitches appear balanced on both sides of the fabric. Test the tension on a scrap piece of fabric before starting your actual project. Avoid excessive tension, as this can cause the fabric to pucker. Regularly check and adjust the tension as needed throughout your embroidery process.
Embroidery Machine Settings for Minimizing Puckering
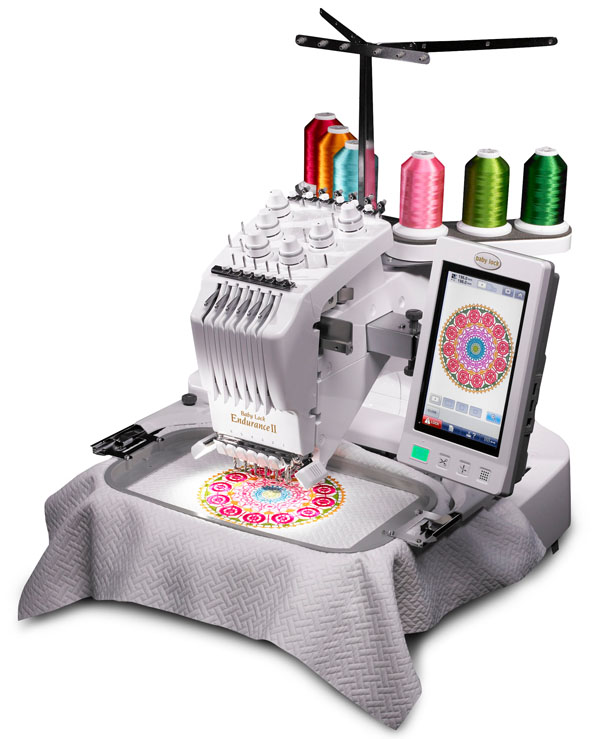
Besides tension, there are other machine settings that can help minimize in embroidery. Adjust the speed of your embroidery machine to a slower setting, especially when working with delicate or stretchy fabrics. Slower speeds allow for more precise stitching and reduce the chances of issue. Additionally, make sure your machine is properly maintained, with clean and lubricated parts, to ensure smooth operation and minimize any potential issues that could lead to puckering.
Finishing Techniques to Eliminate Puckering after Embroidery
Even with all the preventive measures in place, some fabrics may still exhibit minor issue after embroidery. Fortunately, there are finishing techniques you can employ to eliminate or minimize puckering:
1. Steam Pressing
After completing your embroidery, use a steam iron to gently press the fabric. Apply steam directly to the embroidered area, hovering the iron above the fabric without touching it. The steam will help relax the stitches and reduce any remaining puckering. Be careful not to apply too much heat, as it can damage delicate fabrics or melt certain types of stabilizers.
2. Blocking
Blocking involves reshaping the fabric by stretching and pinning it into place to remove any puckering. Lay your embroidered fabric on a flat surface, aligning it to the desired shape. Gently stretch the fabric in all directions, using pins to secure it in place. Allow the fabric to dry completely before removing the pins. Blocking is particularly effective for natural fibers such as cotton or linen.
Conclusion: Achieving Flawless Stitches in Embroidery
With the tips and tricks shared in this article, you are well-equipped to master the art of puckering-free embroidery. By understanding the causes of the issue, selecting the right fabric, utilizing proper hooping techniques, and adjusting tension settings, you can achieve flawless stitches in your embroidery projects. Remember to choose the appropriate stabilizers, maintain your embroidery machine, and employ finishing techniques to eliminate any remaining puckering. With practice and patience, you’ll soon be creating stunning embroidery pieces that showcase your creativity, without the frustration. Happy stitching!
Ready to get started? Explore our embroidery services for expert assistance in bringing your vision to life.


