How to Digitize Your Logo? You may have contemplated printing your logo or digitizing embroidery for items if you operate a business. Printed logos are not as popular as embroidered logos since the print might fade and wear away from the march. As a result, most firms opt to digitize their logos for embroidery. However, digitizing files for embroidery or digitizing photos for embroidery requires far more effort than you may imagine. It is more difficult than you think to scan photographs for embroidery. This article will show you how to digitize a logo, especially how to digitize a logo for embroidery.
What Exactly Is Logo Digitization?
You must first comprehend what a logo is before you can learn how to digitize it. It is not possible to utilize a PNG or JPEG file of a logo in an embroidery machine. ‘How do I embroider a logo?’ you inquire. It is fairly simple; you simply need to learn how to digitize a logo so that the machine can interpret it. This may be accomplished by turning them into embroidery files. Each file is dependent on the type of computer you have; you must use the proper one for the equipment to produce the best results.
How Do You Digitize Your Logo?
The following are a few steps you may take to digitize your logo:
Step#1 Putting Your Logo
To begin, submit your logo or artwork in jpg or png format and design it in the program. You may improve the logo’s appearance by clipping off the superfluous section of the logo or the blank area you don’t like. May also preview the logo when it has been embroidered using embroidery software. You may create your own artwork and upload it to the machine. When you pick an image to be stitched, you have the option to zoom, crop, and change the colors.
Step#2 Changing the Size of the Embroidery Design
It is critical to enter the measurements of your embroidered logo precisely as they appear on the cloth, since the machine will print them exactly as they appear. The logo space must be meticulously measured, and the appropriate measurements must be entered precisely as they are.
To avoid disappointment, the program has a function that displays you how the logo will appear on the cloth in real life. You can see how the logo will appear on the goods as soon as you decide the right measurements.
Step#3 Selecting A Stitch Type
Manufacturers utilize several stitch kinds to achieve unique styles, textures, and appearances. Fabric selection, fabric push and pull resistance, and maximum stitch length are all things to consider. The following are examples of machine-based embroidery stitches:
- Stitching that is straight
- Fill stitching
- Satin embroidery
Step#4 Establish Stitch Direction
This is necessary since the machine requires instructions for each stitch. The stitch pattern may offer the cloth distinct colors and features in order to best reproduce the logo design. If you neglect this step, your finished product may be subjected to multiple leaps and an extremely uneven stitch pattern by the machine. The perfect stitch will save you money on thread as well as time.
Step#5 Colors of Thread
It is critical to use thread colors that match the printed logo to prevent having to redo the operation entirely. If you’re not sure what color to use, the thread standards describe what hue is ideal for each case. You may make your task easier by selecting the proper colors for your sewing machine, and the design will be flawless.
Step#6 Uploading the Design to the Embroidery Machine
After copying the fictitious file to the system, the following step is to run it. The embroidery file should be copied into the machine or software. It is uploaded to the system using a USB drive, a data wire, or a disc. If you have the program installed on the same computer, copy it directly from it.
Step#7 Prepare The Machine
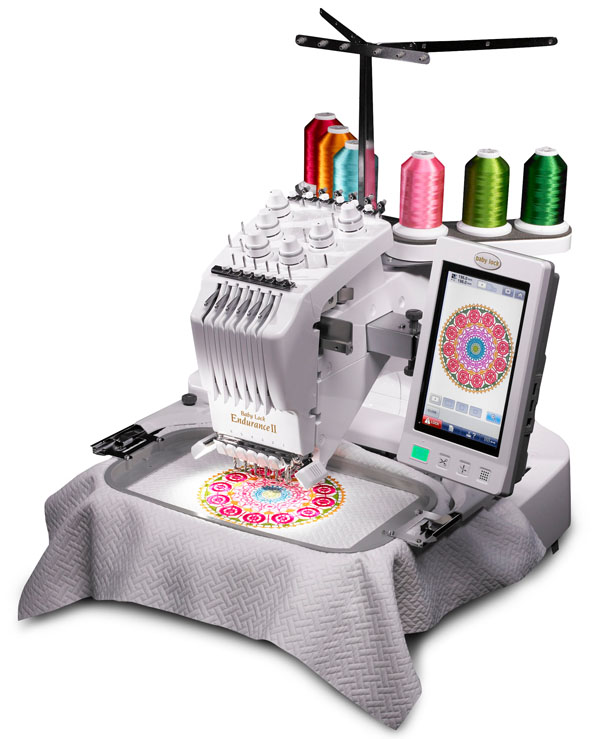
Before digitizing the logo on the cloth, the design components must first be input. You must first define the needles, threads, orientation, and embroidery sequence before printing on the fabric. By inserting embroidered materials into machine arms, embroidery frames may be filled.
Step#8 Examine Your Digital Logo
Your machine will digitize the logo on the goods. If it has to be tweaked, recreate it after making the necessary modifications and comparing it to the design. To achieve the best result, the stages should be repeated once any revisions have been made. Your embroidered logo is now digital.
Conclusion
Follow these easy steps to swiftly digitize your logo for embroidery. The procedure is simple and takes little time to complete. Once you’ve digitized your logo, you may use it on embroidered projects.


