Embroidery digitizing is a captivating art that demands precision, creativity, and the proper tools. Whether you’re a professional or a hobbyist, having essential embroidery digitizing tools is vital for creating remarkable designs. In this guide, we’ll delve into each tool, explaining their significance and how they enhance the digitizing process.
These tools empower you to bring your creative visions to life, producing exquisite and intricate embroidery work. Whether you’re a seasoned digitizer or just starting, understanding the importance of these digitizing services will undoubtedly elevate the quality and finesse of your embroidery projects. Let’s dive in and explore the world of embroidery digitizing!
Table of Contents
1. Embroidery Digitizing Software
2. Computer with Adequate Specifications
3. Graphics Tablet and Stylus
4. High-Quality Digital Images
5. Embroidery Thread Color Chart
6. Bobbin and Bobbin Case
7. Embroidery Needles
8. Stabilizers and Backings
9. Hoops and Frames
10. Scissors and Cutting Tools
11. USB Drive or Memory Card
12. Embroidery Machine
13. Practice Fabric
14. Maintenance Tools
15. The Takeaway
1. Embroidery Digitizing Software
Embroidery digitizing software is the backbone of the entire digitization process, playing a crucial role in transforming creative ideas into tangible embroidered designs. This software enables users to create and edit designs in a digital format that embroidery machines can interpret. The user-friendly interface allows designers to bring their visions to life by converting them into stitch files.
High-quality digitizing software offers many advanced features, including the ability to customize stitch types, adjust stitch densities, and manage color palettes. These features grant unparalleled control over the design process, allowing for precise and intricate embroidery work. Professionals favor popular software options like Wilcom, Embird, and Hatch due to their powerful capabilities and user-friendly interfaces, making them invaluable tools in the embroidery digitizing workflow.
2. Computer with Adequate Specifications
A powerful computer with adequate specifications is a prerequisite for running embroidery digitizing software efficiently and smoothly. The software’s computing power and memory demands can be significant, especially when working with complex and intricate designs. Therefore, ensuring that your computer meets the recommended specifications is crucial to avoid lags and crashes during the digitization process.
By investing in a capable computer, embroiderers can focus on their creative work without interruptions, as the software operates seamlessly. A computer with sufficient processing power and memory ensures swift and accurate design rendering, ultimately leading to enhanced productivity and creativity in digitization.
3. Graphics Tablet and Stylus
To elevate the digitizing experience, a graphics tablet and stylus are essential tools that provide a natural and precise way to draw designs. Unlike traditional mouse methods, a stylus allows designers to draw directly on the tablet’s surface, simulating the feeling of pen and paper. This seamless interaction empowers users with greater control, facilitating the creation of intricate and organic patterns.
The use of a graphics tablet and stylus significantly enhances the accuracy and visual appeal of digitized designs. The precision offered by these tools ensures that the final embroidery closely resembles the original design, maintaining the artistic intent behind each stitch. As a result, embroiderers can achieve more realistic and captivating designs, captivating both clients and end-users alike.
4. High-Quality Digital Images
The quality of the source image heavily influences the quality of your digitized embroidery design. Starting with high-resolution digital images is crucial to ensure that your final embroidery captures every intricate detail of the original artwork or design. When working with a clear and well-defined image, the digitizing software can accurately interpret the design elements, resulting in flawless and precise embroidery digitizing.
High-resolution images provide abundant information for the digitizing software to analyze, allowing it to accurately capture fine lines, intricate shapes, and delicate textures. This level of detail translates into a more visually appealing and professional-looking embroidery piece, captivating viewers with its precision and clarity.
Embroiderers should aim to obtain high-quality images by creating their own digital artwork or using high-resolution photographs and illustrations. Starting with the best possible source image sets the stage for a successful and visually striking embroidery design.
5. Embroidery Thread Color Chart
An embroidery thread color chart is a valuable tool that plays a crucial role in the embroidery digitizing process. This chart provides a comprehensive display of the entire spectrum of available thread colors, serving as a reference guide to help you select the perfect thread shades for your designs.
Precision is essential when choosing thread colors for an embroidery project to achieve the desired outcome. The thread color chart allows you to compare and match thread shades accurately to your design elements, ensuring a seamless transition between colors and maintaining design integrity.
The right color choice can significantly enhance the visual impact of your embroidery, making it stand out and leave a lasting impression on viewers. Additionally, a well-coordinated color palette can evoke specific emotions or convey a particular theme, adding depth and meaning to your embroidered artwork.
Embroidery thread color charts are available from reputable embroidery suppliers and often include popular thread brands such as Madeira, Isacord, and Sulky. Utilizing this valuable reference tool, you can confidently select the ideal thread colors to bring your digitized designs to life with precision and artistry.
6. Bobbin and Bobbin Case
To ensure smooth operation during the embroidery digitizing process, it is essential to have an adequate supply of bobbins with pre-wound threads. Bobbins play a crucial role in the embroidery machine, holding the bottom thread that complements the top thread during the stitching process. Having a sufficient number of readily available bobbins prevents interruptions and allows you to focus on digitization without worrying about running out of thread.
A properly functioning bobbin case is essential for the smooth feeding of the bottom thread. The bobbin case houses the bobbin securely, allowing the thread to unwind smoothly as the machine stitches the design. A well-maintained bobbin case prevents thread tangles and breaks, ensuring uninterrupted and flawless embroidery patterns.
By keeping an adequate supply of bobbins with pre-wound threads and ensuring the proper functioning of the bobbin case, you can optimize the embroidery digitizing workflow and minimize potential disruptions. These seemingly small details contribute to your embroidery output’s overall efficiency and quality, allowing you to create beautiful and precise designs confidently.
7. Embroidery Needles
Embroidery needles are a cornerstone for achieving clean and precise stitching in the digitizing process of embroidery. Selecting the appropriate needle for different fabric types is crucial to prevent thread breakage and maintain the design’s integrity. Various needle types are available, each tailored to specific fabric characteristics.
For knits and stretchy fabrics, ballpoint needles are the ideal choice. These needles have a rounded tip that slides between the fabric’s fibers without causing snags or damage. Ballpoint needles gently push the fabric aside, allowing the thread to pass smoothly.
On the other hand, sharp needles are best suited for woven fabrics, such as cotton or linen. They’re fine, pointed tips easily penetrate the fabric’s weave, ensuring accurate and neat stitching. Using sharp needles on woven fabrics minimizes the risk of puckering or distortion and produces flawless embroidery results.
Keeping various needle sizes on hand is essential to adapt to different project requirements. The needle size influences the stitch appearance and the perforation size left on the fabric. Smaller needle sizes suit delicate fabrics, while larger sizes work well with thicker or denser materials.
Regularly changing needles, especially after completing significant projects or switching fabric types, maintains the needle’s sharpness and improves overall stitching performance. You can ensure high-quality and professional-looking embroidery by taking care of your embroidery needles and choosing the right ones for your projects.
8. Stabilizers and Backings
Stabilizers and backings are indispensable tools supporting the fabric during embroidery. They play a crucial role in preventing fabric distortion and puckering that can result from stitching.
Stabilizers are available in various types, each designed to accommodate different fabric weights and textures. Tear-away stabilizers are easily removed after the embroidery is complete, making them ideal for lightweight or delicate fabrics. Cut-away stabilizers, on the other hand, provide more extended support and are suitable for heavyweight or stretchy fabrics.
Water-soluble stabilizers dissolve when exposed to water, leaving behind no residue. These stabilizers are often used for lace or free-standing embroidery designs. They provide temporary support during the stitching process and disappear entirely when rinsed.
Backings are primarily used for fabrics like knit or stretchy materials, adding stability during embroidery. They prevent the fabric from stretching or distorting during stitching, resulting in smooth and even embroidery outcomes.
9. Hoops and Frames
Hoops and frames are essential for securing the fabric during embroidery. Properly holding the fabric taut and in place ensures precise stitching and prevents shifting or bunching during digitizing.
Choosing the appropriate hoop or frame size is vital to match the project’s dimensions and fabric size. Smaller hoops are ideal for delicate or intricate designs, allowing for precise stitching in tight spaces. Larger hoops accommodate more extensive designs and can be repositioned to work on different sections of the fabric.
Modern embroidery machines often come with a range of hoop sizes, providing embroiderers with flexibility and versatility. Magnetic or snap-on hoops make it easy to secure the fabric quickly and ensure stable embroidery.
Using hoops and frames correctly minimizes fabric movement during stitching, resulting in consistent and professional-looking embroidery. Proper tension and positioning also play a crucial role in achieving high-quality results.
10. Scissors and Cutting Tools
Sharp and precise scissors or cutting tools are invaluable for the final stages of the embroidery digitizing process. After completing the embroidery, trimming excess threads and stabilizers is essential to give your design a polished and finished appearance. Carefully trimming the threads and stabilizers ensures your embroidery patterns look neat, professional, and ready for display or use.
Using sharp scissors or cutting tools with fine tips allows you to navigate the intricacies of the embroidery design accurately. Trimming excess threads enhances the embroidery’s visual appeal and ensures that the design’s intricate details are visible and well-defined.
Additionally, removing excess stabilizers is crucial for achieving a clean finish. Some stabilizers remain beneath the embroidery to provide additional support during stitching. Trimming away the excess stabilizer leaves the embroidery crisp and free from unwanted residue.
The attention to detail during the trimming process contributes to the overall quality of the embroidery, making it stand out as a masterpiece of precision and artistry. With the right scissors or cutting tools, embroiderers can elevate their digitized designs and showcase their craftsmanship in detail.
11. USB Drive or Memory Card
Transferring digitized designs from your computer to the embroidery machine is a pivotal step in the embroidery digitizing workflow. To achieve this, you need a compatible storage device, such as a USB drive or memory card.
Having digitized designs saved in the appropriate file formats allows for seamless transfers to the embroidery machine. Before transferring, it is essential to ensure that the file formats produced by your digitizing software are compatible with your embroidery machine’s requirements. This compatibility ensures the machine can accurately interpret and execute the stitch files.
A USB drive or memory card is convenient and portable for storing and transferring designs. Using this technology, you can swiftly transfer your digitized creations to the embroidery machine, minimizing downtime and maximizing productivity.
Having multiple USB drives or memory cards dedicated to different projects enables you to organize and manage your digitized designs efficiently. By utilizing compatible storage devices, you can streamline the digitizing process and start stitching your designs promptly.
12. Embroidery Machine
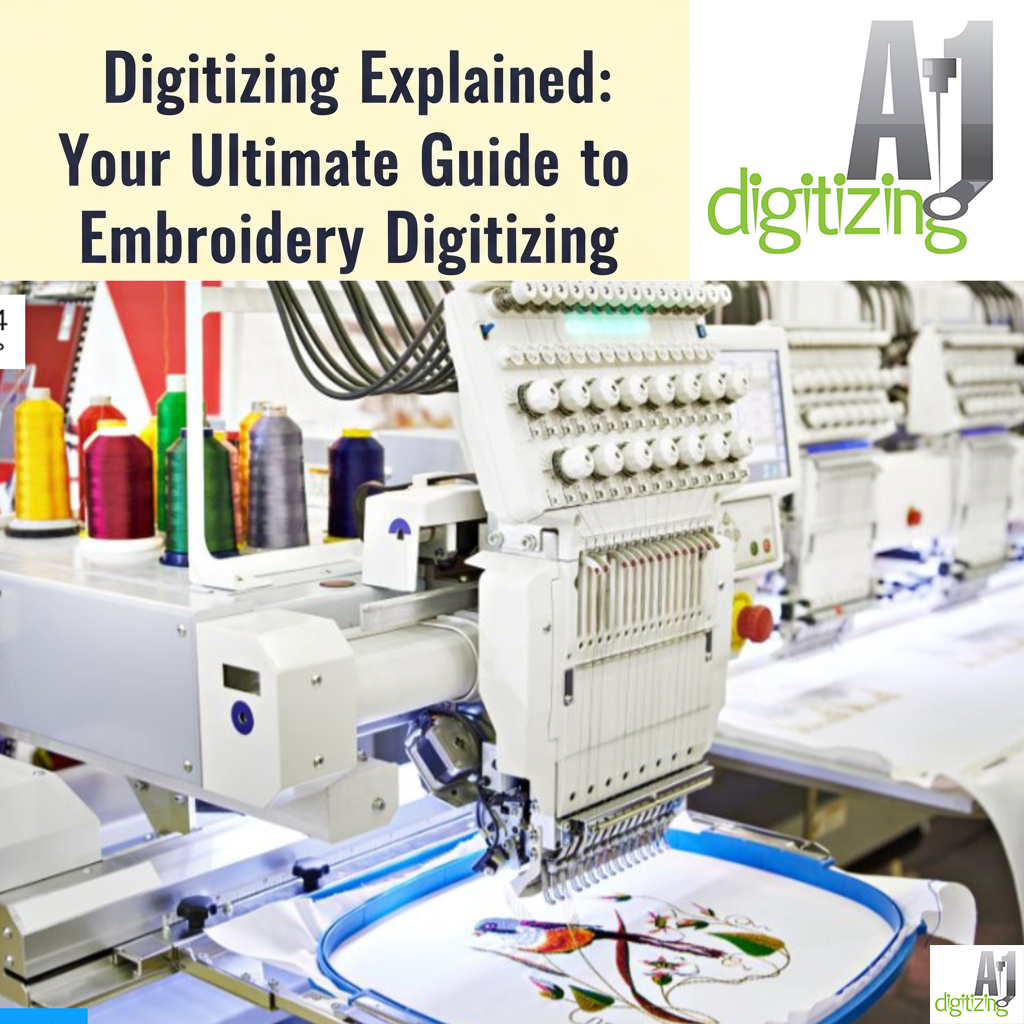
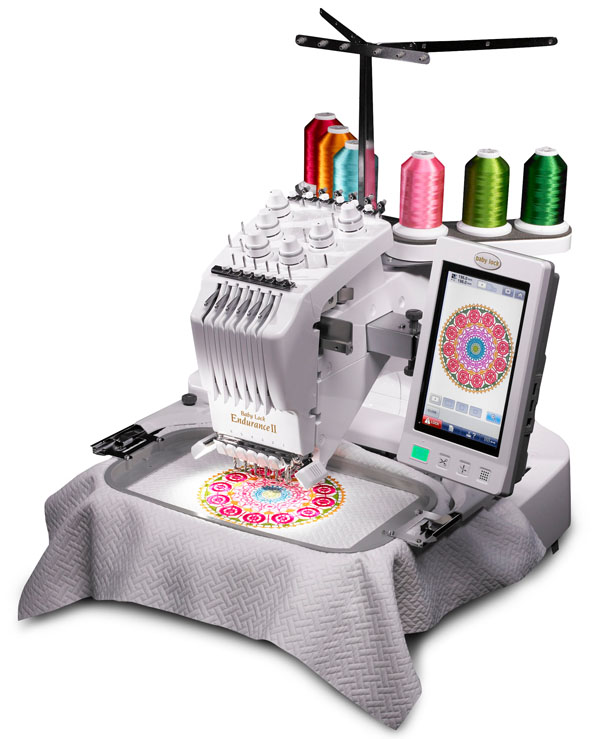
The embroidery machine itself is the cornerstone of the embroidery digitizing process. This sophisticated piece of equipment plays a central role in translating the digital stitch files created by your software into tangible embroidered designs on fabric.
Investing in a high-quality embroidery machine is crucial for achieving exceptional digitized designs. Consider the machine’s features, capabilities, and compatibility with your preferred software before purchasing. A reliable and advanced embroidery machine can significantly impact your digitization journey’s overall quality and efficiency.
Modern embroidery machines offer a wide range of functions, including adjustable stitch speeds, multiple needle positions, and large embroidery areas. Some machines have built-in designs and fonts, adding creativity and flexibility to your embroidery projects.
Embroiderers can find machines suitable for various budget ranges and skill levels. By choosing a machine that aligns with your needs and aspirations, you can easily enhance your embroidery digitizing endeavors and produce remarkable designs.
13. Practice Fabric
Embroidery digitizing is an art that thrives on practice and continuous improvement. Keeping practice fabric on hand enables you to experiment with new designs and techniques without the fear of compromising your final project.
Using practice fabric allows you to test different stitch types, thread colors, and stabilizers. This experimentation provides valuable insights into how various factors impact the embroidery outcome. You can refine your skills, explore creative possibilities, and identify areas for improvement without the pressure of working on a final project.
Practicing on different fabrics is particularly beneficial, as each fabric type may require slight adjustments in stitch settings or stabilizers to achieve optimal results. Working with various stitch types also allows you to understand the machine’s capabilities and limitations, helping you make informed decisions during digitizing.
You are embracing the learning curve, and dedicating time to practice fosters growth and mastery in embroidery digitizing. With regular practice, you will refine your skills, gain confidence, and develop a keen eye for detail, enabling you to create more intricate and creative digitized designs in the future.
14. Maintenance Tools
Proper maintenance of your embroidery machine and tools is essential for consistent and reliable performance. Investing in maintenance tools, such as cleaning brushes, oil, and lint removers, ensures that your machine remains in optimal condition. Regular cleaning and lubrication prevent dust buildup and extend the life of your machine, allowing you to focus on your creative work without interruptions.
15. The Takeaway
Embroidery digitizing is a fulfilling and creative process that can be greatly improved with the right tools. Each tool plays a crucial role in the digitizing process, from software and computer specifications to stabilizers and embroidery needles. This combination enables you to craft intricate, professional designs that captivate and impress.
Regular practice and experimentation with various techniques are key to refining your embroidery digitizing skills. If you want to excel in this craft, investing in the right tools is essential. Consider seeking assistance from a reliable digitizing company to ensure your designs are brought to life with precision and expertise. Happy digitizing!
FAQs (Frequently Asked Questions)
Q1. Do I need to invest in expensive digitizing software?
Not necessarily. Various digitizing software options are available to suit different budgets and skill levels. Many software providers offer free trials or beginner-friendly versions, allowing you to get started without a significant investment.
Q2. Can I use any embroidery machine for digitizing?
While most modern embroidery machines support digitized designs, it’s crucial to check the compatibility of your machine with the file formats produced by your digitizing software. Ensure that your machine can read and interpret the stitch files generated by the software.
Q3. How do I choose the right stabilizer for my fabric?
The choice of stabilizer depends on the fabric type and the complexity of your project. Experiment with different stabilizers on a fabric swatch to determine the best match. Consider fabric weight, stretchiness, and design intricacy when selecting the appropriate stabilizer.
Q4. Are graphics tablets difficult to use?
Graphics tablets may have a slight learning curve, especially for those new to digital drawing. However, with practice and familiarization, you will become more comfortable and proficient in using them. These tablets offer precise control and enhance digitization, making them a worthwhile investment for many embroiderers.
Q5. Can I digitize copyrighted designs for commercial use?
No, digitizing copyrighted designs for commercial use without proper authorization is illegal and unethical. Always respect intellectual property rights and create original designs or use licensed designs for commercial embroidery projects. This ensures that you are not infringing on others’ creative work and avoids potential legal issues.


